Finishing the Desk Gallery
While I don’t write often, this desk gallery is something that I had to share – it is difficult, tough to design, and the execution is like completing a freeform jigsaw puzzle. The design and first mockup only gets you so far. Then you have to make it. For real. In hardwood. With sharp tools.
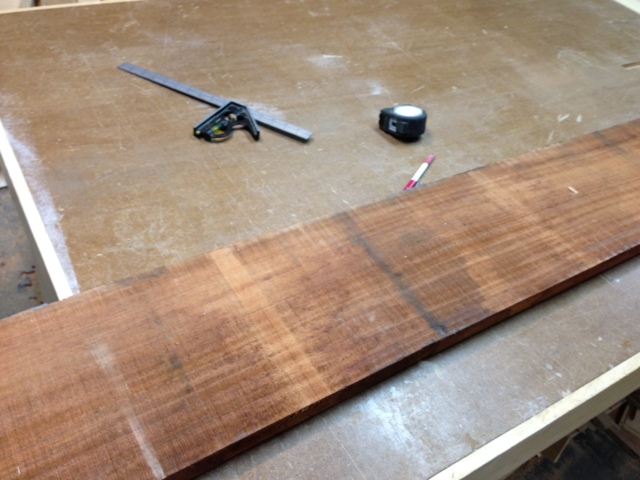
So the process commences – everything starts with a rough stick of wood, furry, warped, and showing no hint of what wonderful grain might be exposed as it is milled up.
The surface is flattened on the joiner, the other face made parallel by the planer, and then edges made square and to size by the table saw. Then onto the bench.
In this case, everything is then done by hand. The front curve is freeform, and then the holly is inlaid by hand into the tip of the board.
Then the fairing so that the entire piece looks like a wing. Four more wings, two sliding dovetails, and 14 regular dovetails (all hand-cut) later, we have the first piece of the gallery in position. You can see the shims that hold everything tight.
This gallery is unusual in that the center section hangs from the top of the desk, allowing a full size blotter to go under the entire gallery.
The sides have to be in place before the drawers are made. Each drawer is different.
So the center four drawers are in place, and the horizontal dividers for the eight outside drawers are ready. Here you can see the first drawer being fit. After the drawers are fit, then the drawer pulls have to be made and inlaid. Again, each is different. And each has two screws. And each screw has to have a pilot hole, a hole sized for the thread, a hole sized for the shank, and a countersink so that the head of the screw sits flush. 12 drawers x 2 screws x 4 operations per screw. Let’s see – that’s 96 separate operations…..
But the end result – immensely satisfying. 
-Richard


